Are you looking for ways to brighten up your home without breaking the bank? If you’ve ever stared at a pile of cardboard boxes and wondered what to do with them, you’re not alone. This post came about because I know many of us want to recycle smartly while adding a personal touch to our living spaces. Cardboard is often overlooked, but it can be a fantastic material for creative and stylish wall art.
If you love DIY projects or want to find unique home decor that reflects your personality, this guide is for you. Whether you’re a seasoned crafter or a beginner just dipping your toes into the world of arts and crafts, these cardboard ideas will ignite your creativity. You’ll find ways to transform plain cardboard into stunning decorations that will impress your guests and make your home feel warm and inviting.
In this post, you’ll discover 25 Cardboard Crafts Decoration Wall Art Home Decor Ideas that are fun, eco-friendly, and surprisingly easy to make. Each idea is designed to help you recycle materials while unleashing your artistic flair. From simple shapes to intricate designs, there’s something here for everyone. Plus, you might just find a new favorite hobby along the way!
So grab those empty boxes, and let’s get crafting! Your walls are about to get a stylish makeover, and your home will reflect your creativity and commitment to sustainability.
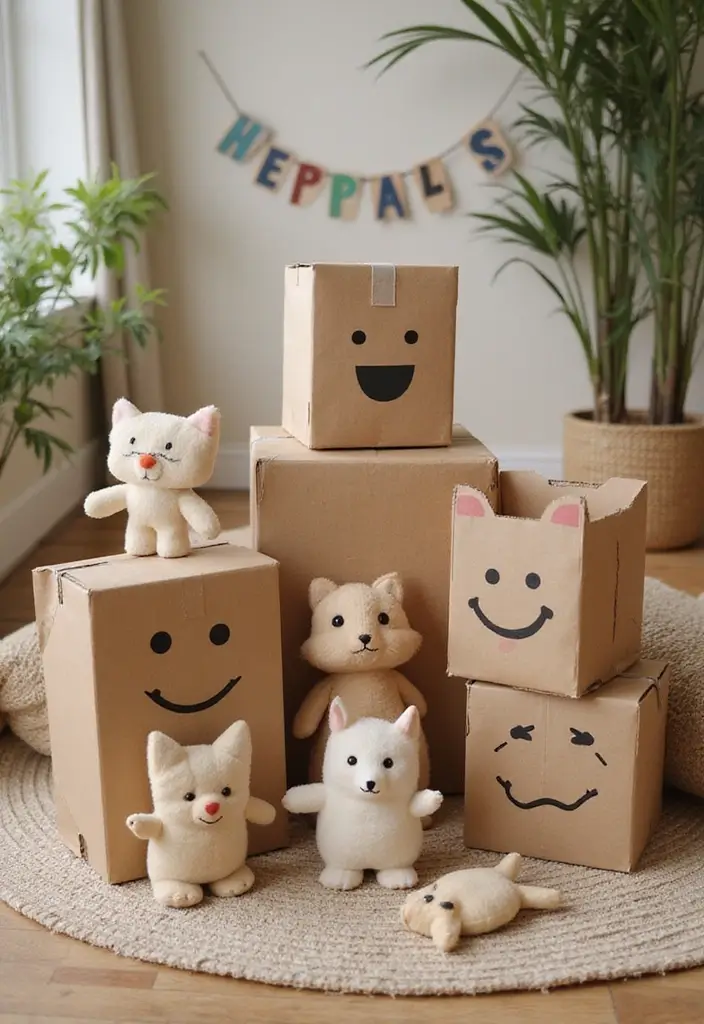
1. Whimsical Animal Heads
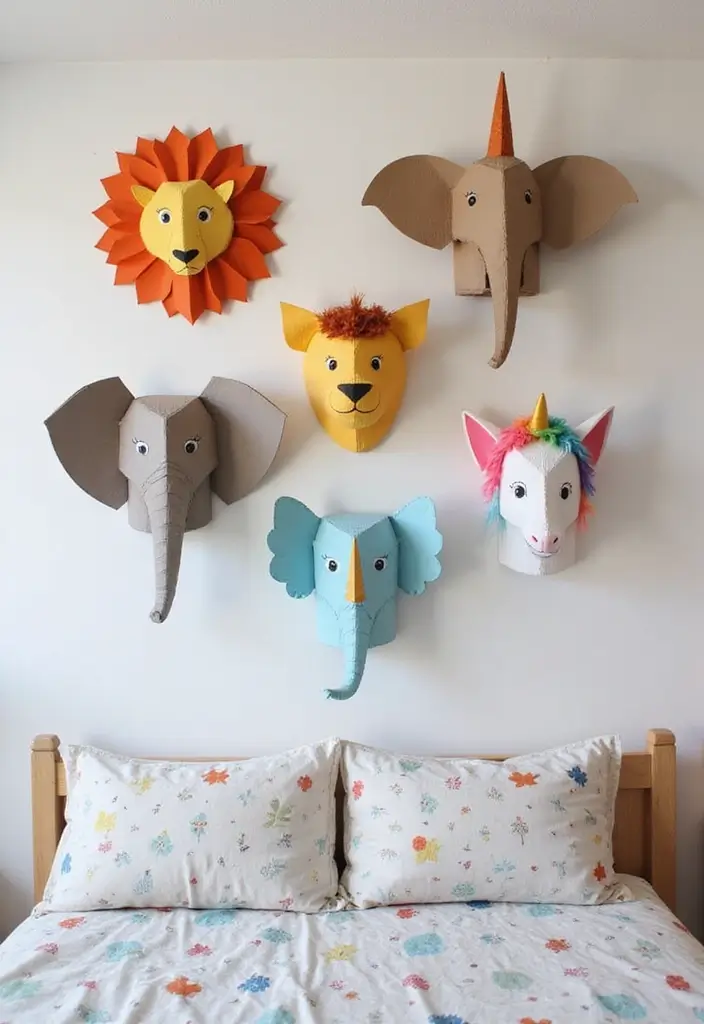
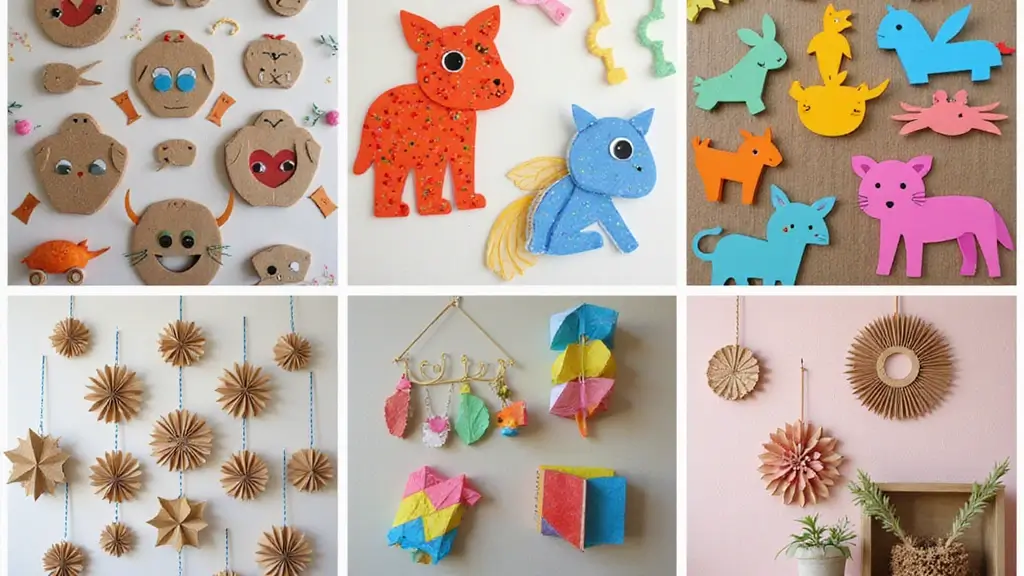
Turn your child’s room into a fun safari adventure with charming animal heads made from cardboard. These delightful 3D wall decorations can mimic their favorite creatures—think lions, elephants, or even magical unicorns! Start by drawing an outline of the animal on a piece of cardboard. Cut it out, then assemble the pieces to create a playful 3D effect. Bring them to life with bright paint, colorful fabric scraps, or patterned paper for added personality.
Pinterest is buzzing with these whimsical creations, and they’re a hit for kids’ rooms. Hang a few together to form a lively gallery wall, filling the space with joy and creativity. This project not only beautifies their room but also sparks your child’s imagination and excitement about decorating their own space.
To make your whimsical animal heads, gather lightweight cardboard for easy mounting. You can find materials at home or in local craft stores without breaking the bank. This approach aligns perfectly with eco-friendly design trends, allowing you and your child to repurpose items creatively. Plus, it’s a fantastic bonding activity that makes their space feel warm and inviting.
• Sketch your favorite animals to personalize each piece.
• Use bright colors to make them pop on the wall.
• Incorporate fabric scraps for unique textures.
• Hang multiple heads together for a playful gallery effect.
2. DIY Cardboard Wall Hangings
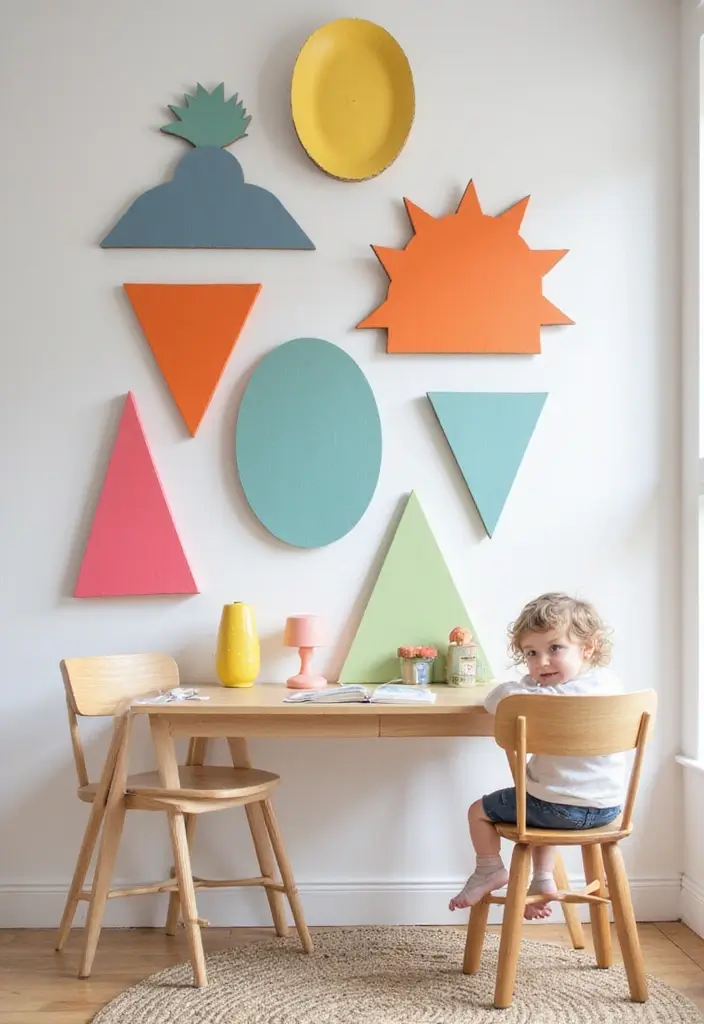
DIY cardboard wall hangings can transform your space into a vibrant showcase of creativity. You can combine fun shapes and colors to reflect your style. Think of playful triangles, circles, or even whimsical abstract designs. Grab a sturdy piece of cardboard and cut it into your chosen shapes. Use bright paints or cover them with colorful tissue paper to give them a lively finish.
Pinterest is buzzing with these trendy wall art ideas, making them a perfect addition to any room. Arranging your creations in clusters or hanging them individually can create a stunning visual impact. Each piece tells a story, bringing personality to your home.
Ready to dive in? Start by gathering supplies like scissors, paint, and tissue paper. You don’t have to spend much, as cardboard is often free or low-cost. This project is not just about crafting; it’s also a fantastic way to bond with your kids. They can help choose shapes and colors, boosting their confidence and sparking their creativity.
Here are some tips to maximize your wall hangings:
Use bold colors to make a statement.
Choose varying sizes for a dynamic look.
Add LED fairy lights for a magical touch.
Place them at eye level for the best visual impact.
With a little imagination, your cardboard wall hangings can turn any dull wall into a lively canvas. Enjoy the process, and watch your creativity come to life!
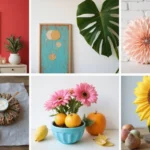
3. Colorful Cardboard Flowers

Brighten up your child’s room with cheerful cardboard flowers that add a touch of nature indoors. Imagine colorful blooms in shades of pink, yellow, and blue lining the walls. You can easily cut flower shapes from old cardboard and paint them in lively colors. Layer them for a fun 3D effect and create a blooming garden right on their wall. Pinterest is buzzing with these ideas, showing how simple crafting can transform a space.
To make this project even better, gather your materials. Cardboard is inexpensive and often found around the house. Paints are budget-friendly, and you can even use leftover craft supplies like glitter or stickers to jazz up your flowers. Think about placing a vibrant bouquet in a recycled vase on a shelf or hanging a cluster of flowers together for a stunning wall display. This craft will not only make the room feel lively but also give your child a chance to learn about nature while developing their motor skills through cutting and gluing.
• Use bright colors to catch the eye
• Layer flowers for a dimensional look
• Add glitter or stickers for extra charm
• Recycle materials to keep costs low
Creating colorful cardboard flowers is a fantastic way to express creativity. You’ll find that these simple crafts can make any space feel inviting and joyful, perfect for sparking your child’s imagination. Let the fun begin!
4. Upcycled Cardboard Shelves

Looking to boost your cardboard crafting game? Why not create stunning upcycled cardboard shelves? These shelves not only add flair to your child’s room but also help keep things organized. Imagine cutting large rectangles from cardboard for the shelves and smaller ones for the support. You can use bright, colorful contact paper or paint them in fun patterns to match the room’s vibe. Pinterest is buzzing with ideas for these playful designs!
To get started, gather some sturdy cardboard and your favorite colors. Cut the cardboard into shelf shapes and supports. Use strong glue or tape to assemble them, ensuring they are safe and secure. Consider adding a coat of varnish or a protective spray to make them last longer. This project is budget-friendly, using materials you already have at home. It’s a perfect way to teach your kids about tidiness and responsibility while creating a space that feels uniquely theirs.
• Cut cardboard into various sizes for custom shelves
• Use bright colors or patterns for a fun look
• Securely mount the shelves for safety
• Encourage kids to display their favorite items
These upcycled shelves not only serve a practical purpose but also become a creative outlet. They’re perfect for showcasing books, toys, or art supplies, making the room feel more personal and inviting. So, roll up your sleeves and let your creativity shine!
5. Funky Cardboard Frames

Add a splash of creativity to your home with funky cardboard photo frames! These DIY frames not only showcase your cherished memories but also serve as a fun craft project for you and your kids. Start by cutting large rectangles or playful shapes from cardboard. Use bright paints, fun stickers, or even scraps of fabric to decorate each frame. Try mixing different styles and sizes to create an eye-catching gallery wall that reflects your family’s unique personality. Pinterest is buzzing with this trend, and it’s a perfect way to make your space feel lively and personalized.
When you’re ready to get started, gather your supplies. Cardboard is often free or low-cost, making this project budget-friendly. Let your kids pick their favorite colors and patterns to involve them in the process. This also teaches them about art and design. Once decorated, you can easily swap out artwork or photos using clips. This keeps the display fresh and encourages storytelling about each moment captured in the frames. It’s a wonderful way to celebrate your child’s creativity!
• Use bright colors to make frames pop
• Involve your kids in the design process
• Mix frame sizes for an eclectic gallery look
• Swap out photos easily with clips
Creating these funky cardboard frames not only beautifies your space but also fosters creativity and connection within your family. Enjoy turning simple cardboard into cherished keepsakes that tell your story!
6. Cardboard Space Rocket
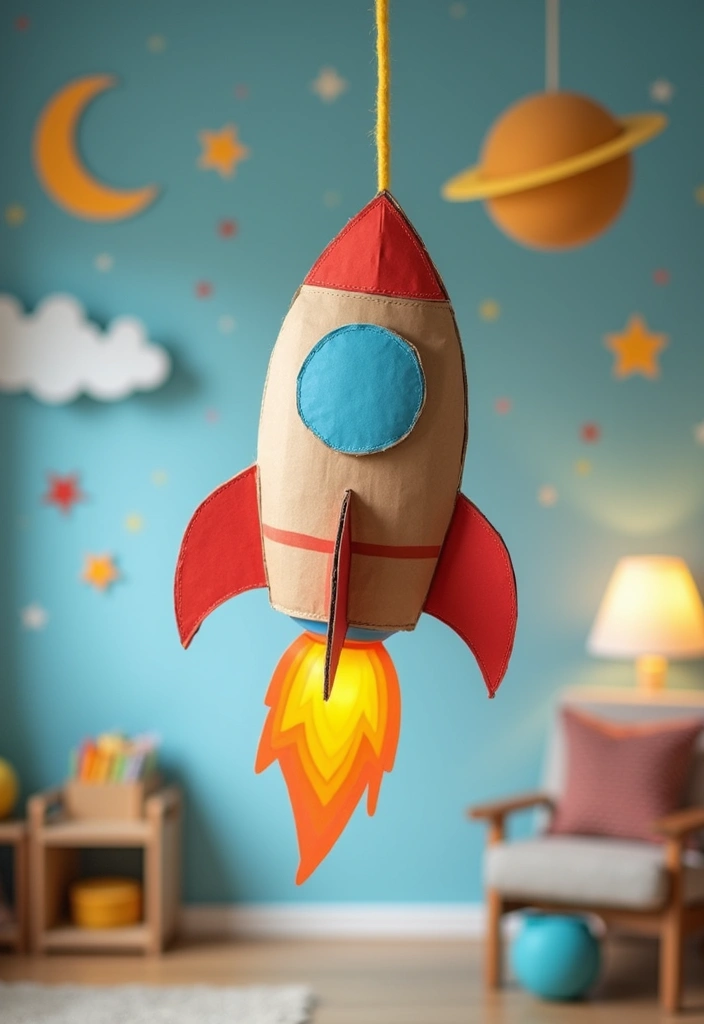
Get ready to launch your imagination with a stunning cardboard space rocket! Kids are naturally drawn to the mysteries of space, and what better way to decorate their room than with a colorful rocket? Start with a sturdy cardboard tube as the rocket’s body. Cut out some cardboard shapes for the fins and the nose cone. Use bright, eye-catching colors to paint it. You can even add fun designs like stars and planets to complete the outer space theme.
To make it truly special, consider hanging your rocket from the ceiling. This creates a floating effect that captures the thrill of space exploration. You could even use glow-in-the-dark paint for an added surprise at night! This craft not only brightens up the room but also becomes a fantastic prop for imaginative play. Kids can launch their rockets into the cosmos of their dreams!
Here are some tips to make your cardboard rocket shine:
• Choose bright colors like red, blue, or yellow for a playful look.
• Add metallic paint for a sleek, futuristic vibe.
• Use stars and planets cut from cardboard to enhance the theme.
• Hang it with fishing line for a floating effect in the room.
Creating a cardboard space rocket is an affordable way to recycle materials while sparking creativity. It’s perfect for kids who love adventure and storytelling, making their space feel like a true launch pad for their dreams!
7. Creative Cardboard Wall Clock
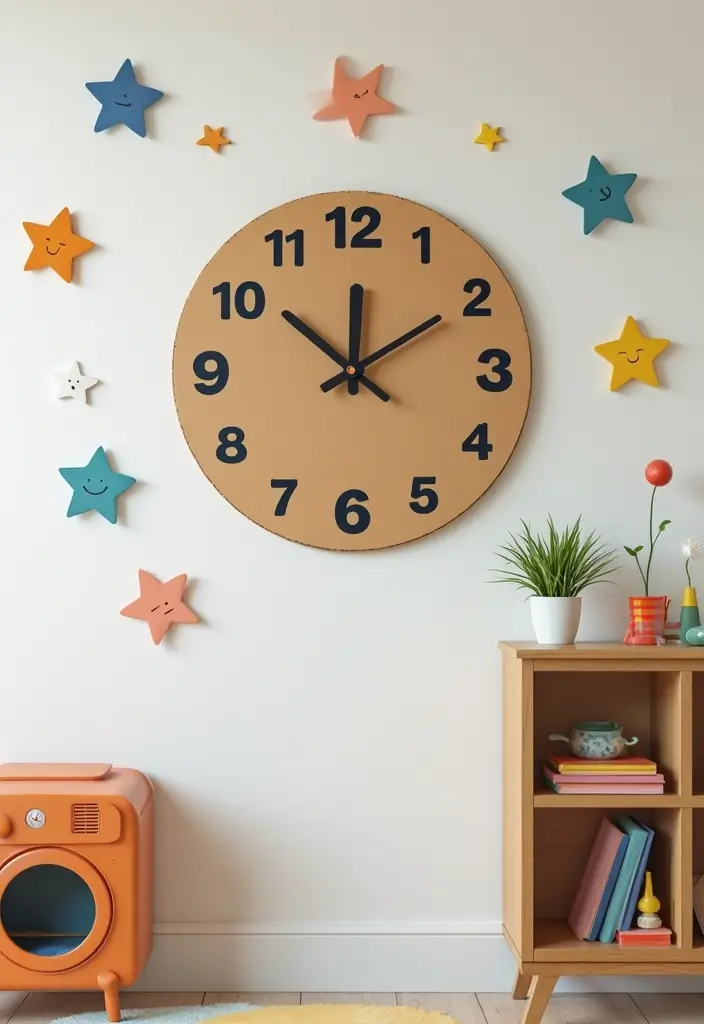
Bring a splash of creativity to your home with a charming cardboard wall clock! This fun DIY project not only helps you recycle but also introduces a playful element to your child’s room.
Start by cutting a big circle from sturdy cardboard. You can paint it in vibrant colors or cover it with fun patterns. Think superheroes, animals, or even their favorite characters! Pinterest is buzzing with ideas, showcasing clocks that spark joy and creativity in any space. These unique designs can transform a plain wall into a lively focal point.
To make your clock functional, grab a clock mechanism kit from a nearby craft store. It usually comes with easy-to-follow instructions, making it perfect for beginners. Plus, this project won’t break the bank! You can personalize it further by letting your child choose the colors or themes. This hands-on activity not only beautifies their room but teaches them about time management and responsibility in a fun way.
• Choose a large cardboard circle for a bold design.
• Paint or decorate with their favorite colors and themes.
• Purchase a clock mechanism from craft stores for easy assembly.
• Involve your child in the decorating process for added fun!
This cardboard clock is not just an art piece; it’s a delightful way to make learning engaging. Create a stylish and educational centerpiece that encourages conversations about timekeeping. Your child will love showing off their unique creation, making it a cherished part of their room!
8. Cardboard Butterfly Mobiles

Bring a sprinkle of magic into your home with cardboard butterfly mobiles! These enchanting decorations can dance above your child’s bed or play area, instantly brightening the space. Start by cutting out colorful butterfly shapes from cardboard. Choose bold colors like bright pinks, sunny yellows, and ocean blues to make them pop. Once painted, string them together and hang them from the ceiling. This DIY project is a favorite on Pinterest for its charm and creativity.
To make this craft even more delightful, involve your kids! Let them choose colors and help with the painting. It’s a fantastic way to bond while creating something special. You don’t need expensive materials; cardboard is often free and easy to find. By adding a few beads or sequins to the strings, you can catch the sunlight and add a sparkle that will make these butterflies truly shine. This project not only adds beauty but also fosters conversations about nature, making your home feel alive and connected to the environment.
• Choose bright colors for a cheerful look
• Involve kids in painting and assembling
• Add beads for sparkle and shine
• Hang above beds or play areas for a whimsical touch
These butterfly mobiles are perfect for adding a personalized touch to any room. They create a warm and inviting atmosphere that everyone will enjoy. Plus, they remind us of the beauty of nature, making your home feel like a cozy retreat. Enjoy crafting together as you watch your space transform!
9. Artistic Cardboard Canvas
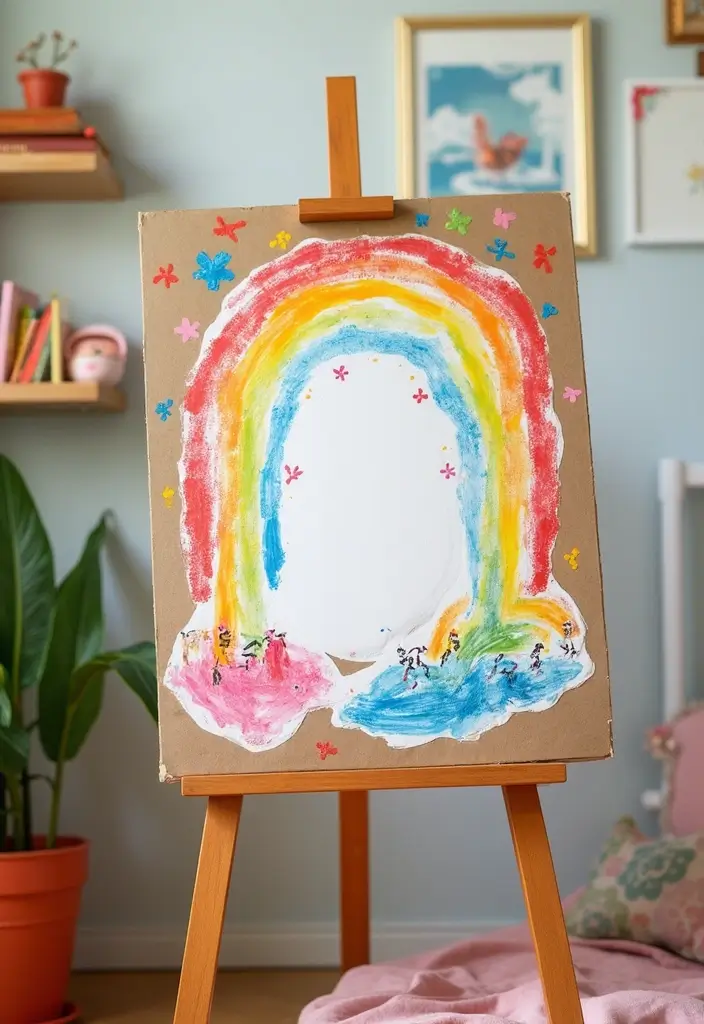
Unleash your child’s creativity with a simple cardboard canvas! This fun project transforms a plain piece of cardboard into a vibrant display of their imagination. Start by painting the cardboard with a coat of white paint. This blank canvas invites your child to explore colors, shapes, and even textures. They can use paints, markers, or scrap materials for a mixed-media approach. Pinterest is buzzing with ideas about this project, showcasing colorful creations that brighten any space.
To implement this idea, gather your supplies easily from home. Use leftover paint from previous projects, or buy non-toxic options that are safe for kids. If you’re on a budget, consider repurposing old cardboard boxes. This project not only fosters artistic skills but also reinforces the value of recycling. The finished artwork can be framed or hung directly on the wall, adding a personal touch to their room.
• Choose vibrant paints for an eye-catching look.
• Use markers or collage materials for added texture.
• Frame the artwork for a polished display.
• Encourage experimentation to boost creativity.
This cardboard canvas project is perfect for creating a unique space that reflects your child’s personality. It’s a fun way to bond while encouraging self-expression and artistic exploration.
10. Cardboard Storybook Wall
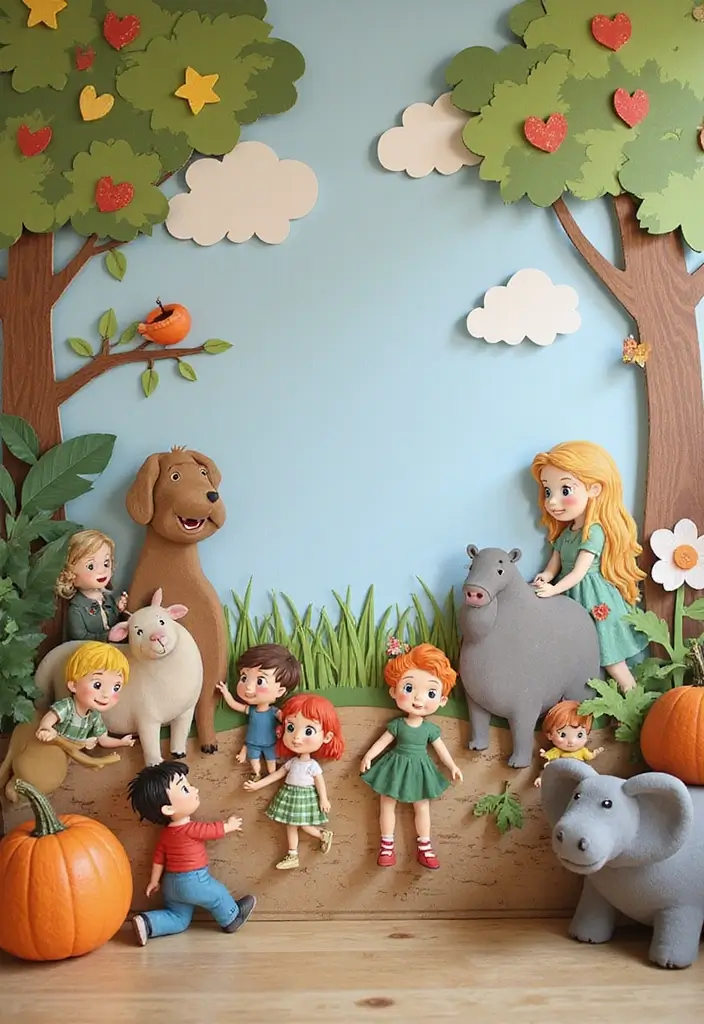
Bring your child’s favorite stories to life with a magical cardboard storybook wall! This fun and creative project turns reading time into an enchanting experience. By using cardboard cutouts of beloved characters and scenes, you can create a captivating backdrop that sparks imagination and joy. Choose bright colors that pop and paint the cutouts to add personality and warmth. This trendy idea has become popular on platforms like Pinterest, making it a stylish choice for any child’s room.
To get started, gather cardboard from old boxes and sketch out your child’s favorite characters or scenes. Cut them out carefully and let your child join in the fun by painting them together. This hands-on activity not only enhances their creativity but also makes reading interactive. Hang your artwork in their reading nook or above their bed to inspire a love for stories. Plus, you can switch out the characters as their interests change, keeping the decor fresh and exciting.
Here are some tips to make your cardboard storybook wall shine:
• Choose bright colors to captivate attention
• Place characters near reading areas for inspiration
• Cut seasonal themes for fun changes
• Get your child involved for a personal touch
This project is not just budget-friendly; it’s also a delightful way to encourage a love for reading while creating a space that feels uniquely theirs. With a little creativity, you can transform their room into a vibrant storytelling haven!
11. Rainbow Wall Art
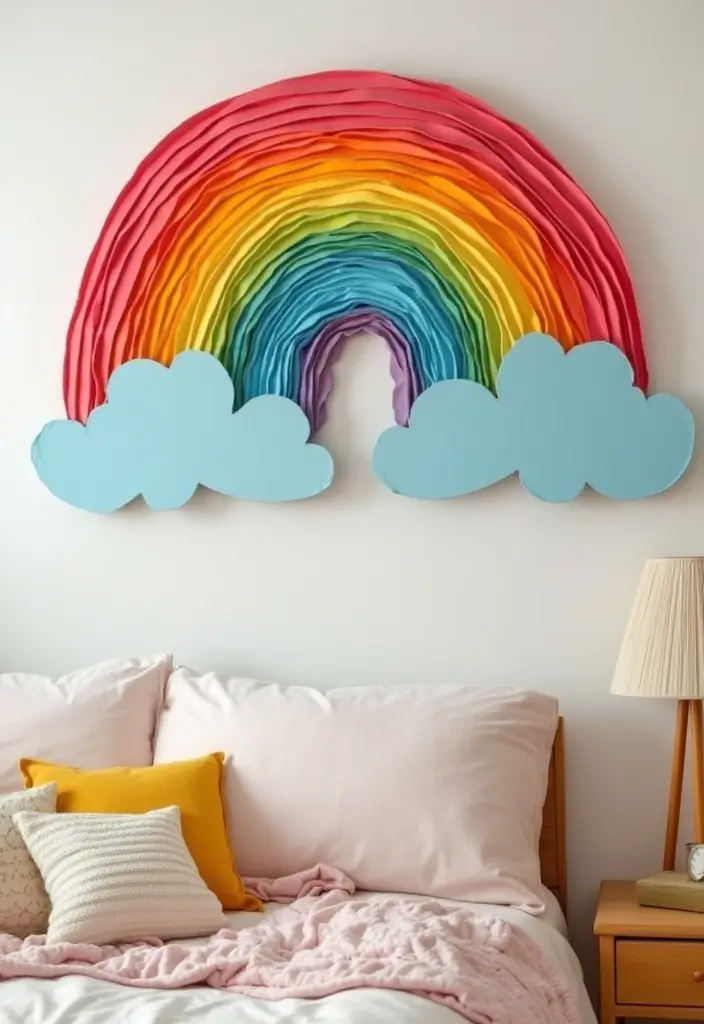
Brighten up your space with colorful rainbow wall art made from cardboard! This fun project not only adds cheer but also showcases your creativity. You can transform simple cardboard strips into a stunning arc of color. Choose vibrant shades or go for soft pastels to match your room’s theme. Hang it over a bed or a sofa to create a lively focal point that draws the eye.
To get started, gather your materials. You’ll need cardboard, scissors, and some glue or tape. Cut the cardboard into strips, each a different color of the rainbow. If you want a 3D effect, layer the strips or bend them slightly as you attach them to the wall. This DIY project is budget-friendly and allows for personal touches. Involve your kids by letting them decorate each strip with stickers or drawings, making it a family creation!
The emotional payoff is huge. This rainbow art not only uplifts the room but also inspires happiness and creativity. It’s perfect for playrooms, nurseries, or anywhere you want to spread a little joy.
Here are some practical tips to make your rainbow wall art shine:
Use bright, cheerful colors for a bold look.
Choose soft pastels for a calming effect.
Add personal touches with stickers or drawings.
Place in a high-traffic area to maximize impact.
12. Custom Name Wall Art
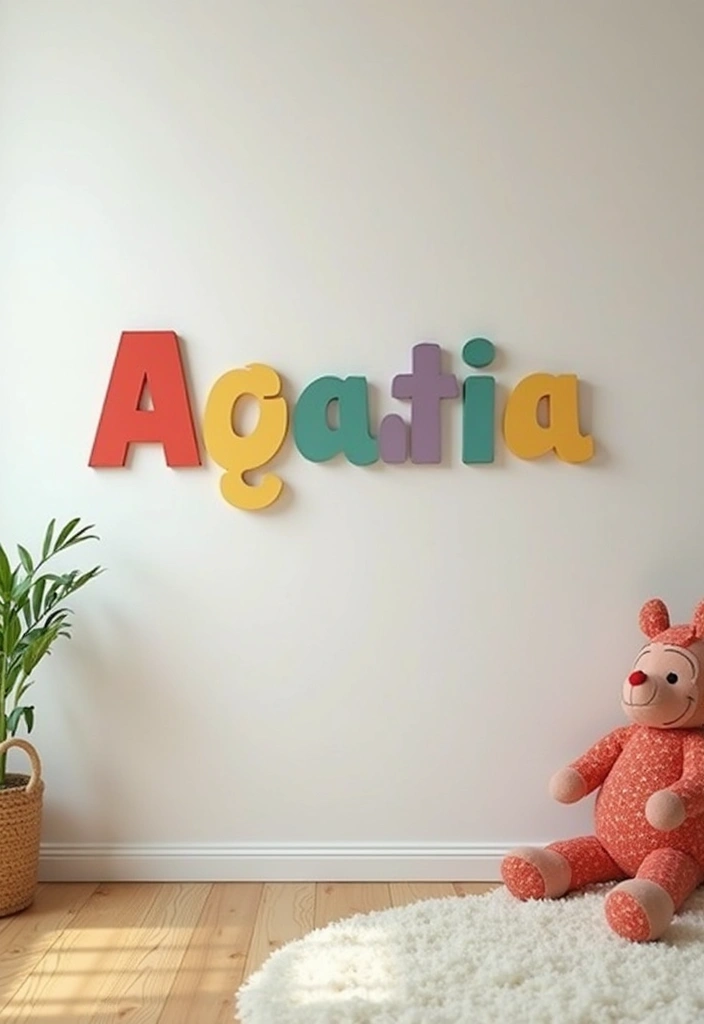
Create a stunning and personalized touch in your child’s room with custom name wall art. This fun project not only shows off their name but also adds a unique flair to their space. Imagine colorful cardboard letters painted in their favorite hues or decorated with themes like animals or outer space. Position these letters above their bed or play area to make the room feel lively and inviting. Pinterest loves these creative ideas, showcasing how simple materials can lead to delightful results.
To get started, gather some cardboard and cut out the letters of your child’s name. Let your little one join in on the fun by choosing colors and designs. Consider using materials like fabric, glitter, or even wrapping twine around the letters for a rustic touch. This project is budget-friendly and allows you to express creativity without breaking the bank. Hang the letters easily with command strips to avoid damaging the walls, making it a stress-free addition to your decor. It’s a wonderful way to celebrate your child’s individuality and makes their room feel more like home.
• Choose colors that reflect your child’s personality
• Involve your child in the decorating process
• Cover letters with fun textures like fabric or paper
• Use command strips for easy, damage-free hanging
With these tips, you’ll create a beautiful display that your child will love and cherish. Plus, it can serve as a fun educational tool for letter recognition and spelling!
13. Cardboard Treasure Boxes
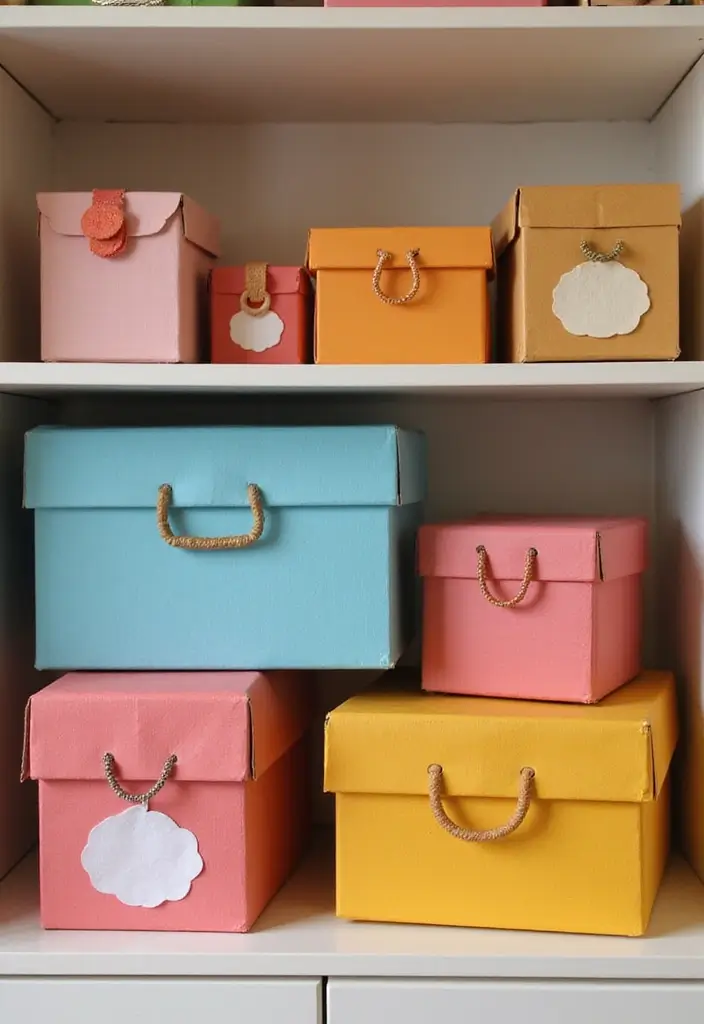
Create charming cardboard treasure boxes to store your little treasures and keep your space organized. These fun DIY projects allow you to personalize your storage while adding a pop of color to any room. Start by cutting out squares for the base and lid. Choose bright paints or patterned paper to decorate them. Pinterest is buzzing with ideas for these crafty containers, making them a trendy addition to your home.
To make your treasure boxes, gather your supplies. Cardboard is budget-friendly, and you can often find it from old packages. Use scissors to cut your shapes, and glue them together for stability. For an extra touch, add stickers or drawings of your favorite things. This personalizes each box and helps kids feel more connected to their belongings. Protect your artwork with a clear coat spray sealant to make it last longer. These boxes not only tidy up the room but also foster a sense of ownership and responsibility.
• Cut cardboard squares for a simple base and lid.
• Choose bright colors or patterns to decorate.
• Add personal touches like drawings or stickers.
• Seal with spray for lasting protection.
These treasure boxes can fit perfectly on shelves, dressers, or desks. They offer a creative way to organize small items like jewelry, notes, or tiny toys. Enjoy crafting while keeping your home stylish and clutter-free!
14. Funky Cardboard Banners

Brighten up your child’s room with colorful cardboard banners that scream fun! These playful decorations are easy to make and can transform any space into a festive wonderland. Start by cutting out triangles or creative shapes from sturdy cardboard. Grab some bright, cheerful paints and let your imagination run wild. Think vibrant yellows, blues, and pinks! String these colorful cutouts together to create a banner that can hang proudly over their bed or across a wall. Pinterest users are loving this trend, showcasing how these banners add a personal touch to any room.
Ready to bring your child’s creativity to life? Invite them to pick colors and patterns that reflect their personality. This not only makes the project more engaging but also helps them feel a sense of ownership over their space. Use inexpensive craft supplies, and remember that you can find cardboard from old boxes around the house, making this a budget-friendly project. Plus, hanging these banners with washi tape keeps your walls safe while adding a stylish twist. The final result is a cheerful atmosphere that feels warm and inviting, perfect for cozy nights or playtime adventures.
• Cut out shapes from cardboard for a playful look
• Choose bright paints to make it pop
• Let your child decide on colors and designs
• Hang with washi tape for easy and stylish display
15. Cardboard Space Scene
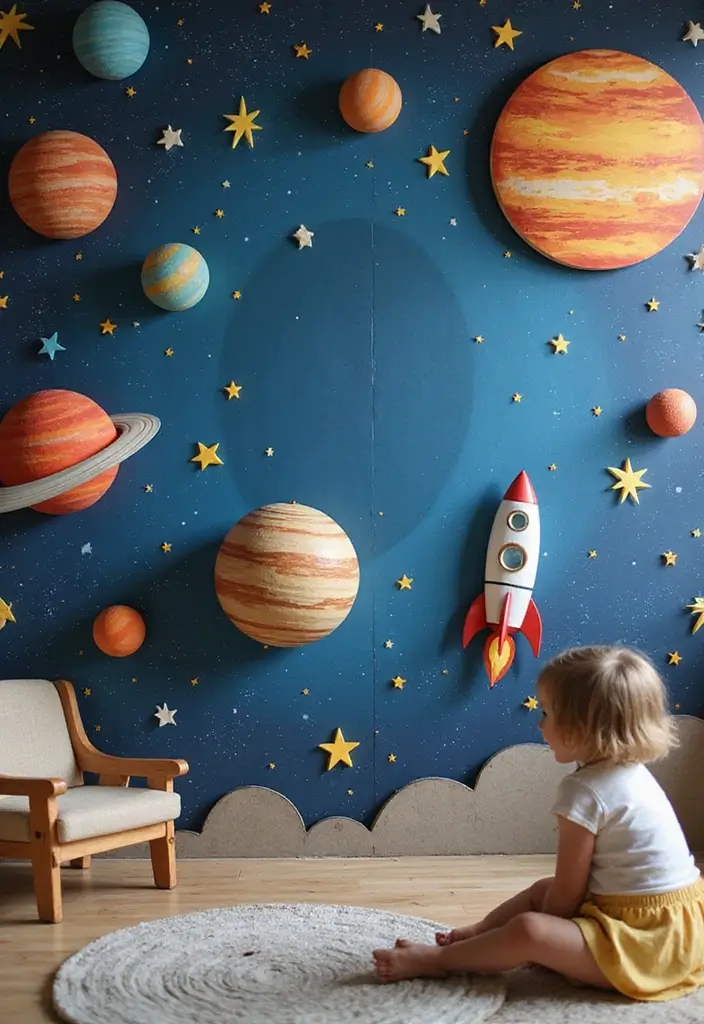
Imagine transforming your child’s wall into a stunning space scene right from the universe! This cardboard craft allows you to create vibrant planets, twinkling stars, and daring rockets, all while recycling materials. You can cut shapes from cardboard, then paint them in eye-catching colors. Think bold reds for Mars, deep blues for Neptune, and bright yellows for suns. A dark blue or black backdrop will make your colorful creations pop, evoking the vastness of space. Pinterest is filled with inspiring ideas that show just how captivating this project can be.
To get started, gather your cardboard, scissors, and paints. You can even use leftover boxes to keep costs low. Let your child help with the painting and arranging of the elements; it’s a fun way to bond and learn about space together. This project not only sparks creativity but also ignites curiosity about science and exploration. Imagine how magical it will feel to see glow-in-the-dark stars and planets lighting up the room at night, creating a cozy and adventurous atmosphere.
• Cut out planets in various sizes for depth
• Paint with bold colors to attract attention
• Add glow-in-the-dark paint for nighttime fun
• Arrange elements in a dynamic layout for excitement
Make your child’s room a gateway to the galaxy, where creativity and learning soar together. This space scene is perfect for inspiring dreams of exploration and adventure!
16. Cardboard Jungle Safari

Transform your space into a lively cardboard jungle safari! This fun project invites you to bring the thrill of the wilderness right into your home. Create colorful cutouts of exotic animals, lush trees, and vibrant foliage to set the scene. Use bright greens for leaves, warm browns for tree trunks, and bold hues for the animals. Pinterest is buzzing with ideas for this theme, making it a trendy choice for kids’ rooms or play areas.
Get your children involved in this creative adventure! Let them design their favorite animals and plants. You can easily find cardboard boxes around your home to recycle. Paint the cutouts together, turning this project into a bonding experience. This charming jungle not only beautifies your walls but also creates a fun learning environment. As the kids explore their creativity, they also gain curiosity about wildlife and nature.
• Use recycled cardboard for a budget-friendly project
• Involve kids in designing animals and plants
• Paint with bright colors to make them pop
• Add facts about each animal for an educational twist
Imagine the joy of seeing your child’s face light up as they spot their favorite animal on the wall. This craft makes their space feel like a magical adventure, prompting stories and imaginative play. Plus, you’ll be teaching them the value of recycling while creating something unique. Dive into this fun project and let your creativity run wild!
17. Cardboard Letter Displays
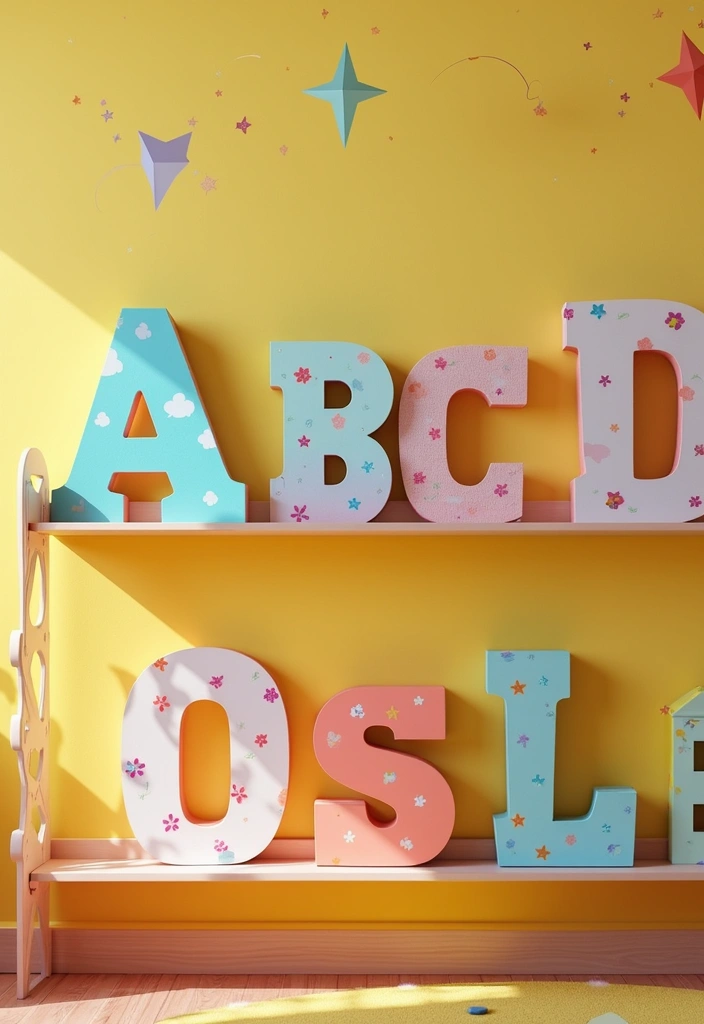
Bring your child’s personality to life with fun cardboard letter displays! These eye-catching decorations not only showcase their interests but also serve as a vibrant expression of who they are. You can easily create large letters from cardboard and personalize them with everything from colorful yarn to shiny paper or bold paint. Imagine their initials, favorite words, or uplifting quotes brightening up their room. Pinterest is buzzing with these trendy ideas, making them a popular choice for kids’ spaces.
To get started, gather some cardboard, scissors, and your favorite crafting supplies. Create letters that are big enough to stand out on a wall or shelf. For a budget-friendly twist, use leftover materials from other projects. This DIY approach aligns beautifully with current trends in personalized home decor. Plus, it makes any space feel warm and inviting, perfect for creating a special nook for your child.
• Choose colors that reflect your child’s favorite hues.
• Pick materials like glitter or fabric for unique textures.
• Add inspiring quotes or initials for a personal touch.
• Place them at eye level for maximum impact.
With a little creativity, cardboard letter displays can be a delightful addition to any room. They transform simple walls into a canvas of self-expression, making your child’s space feel truly special.
18. Cardboard Hot Air Balloons
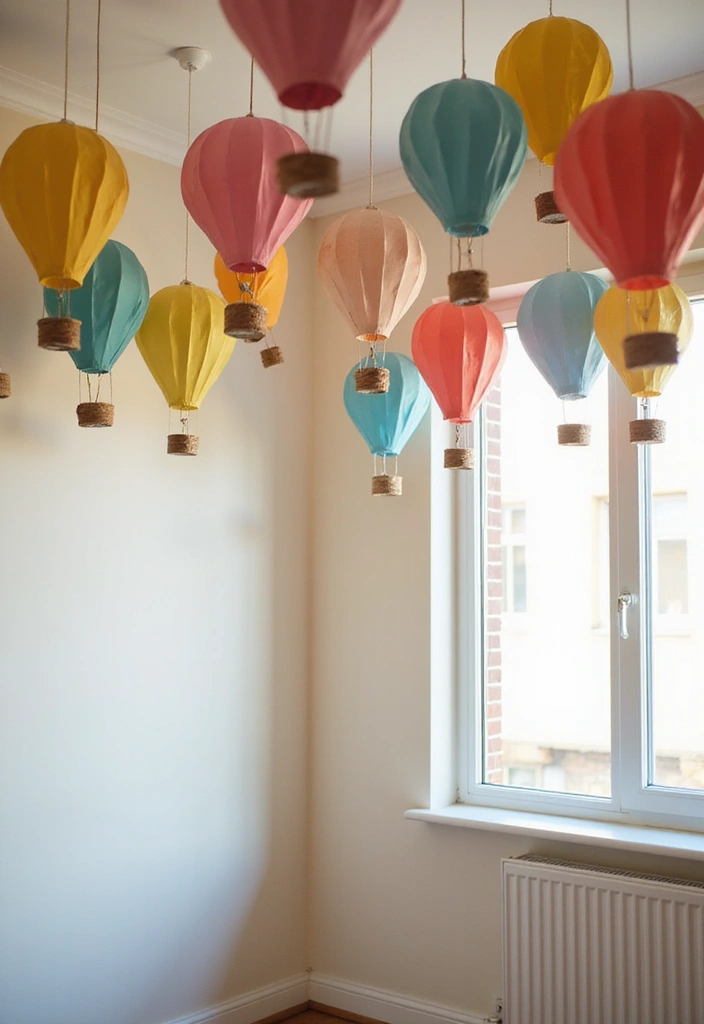
Elevate your home decor with charming cardboard hot air balloons! These delightful crafts not only brighten up your space but also bring a sense of adventure to any room. To get started, cut out fun balloon shapes and attach them to small cardboard baskets. Paint them in vibrant colors like sunny yellows, playful blues, or whimsical polka dots. Hang these creations from the ceiling to transform your space into a dreamy sky filled with imagination. Pinterest is buzzing with these ideas, making them a trendy choice for kids’ rooms or play areas!
When it comes to making your hot air balloons, keep it simple and affordable. Use recycled cardboard and inexpensive craft supplies from your local store. You can even invite your kids to join in on the fun! Let them choose their favorite colors or themes, like superheroes or animals. This activity not only encourages creativity but also strengthens your bond. Picture your child’s face lighting up as they see their personalized balloons floating above, creating a joyful and imaginative atmosphere.
• Cut balloon shapes from cardboard for a fun base.
• Paint in bright colors to capture attention.
• Hang with lightweight string for a gentle sway.
• Involve kids in the design process for added fun.
Let your creativity soar with these cardboard hot air balloons, perfect for adding a touch of whimsy to your home. They’re not just decorations; they inspire dreams of adventure and exploration!
19. Cardboard Star Constellations
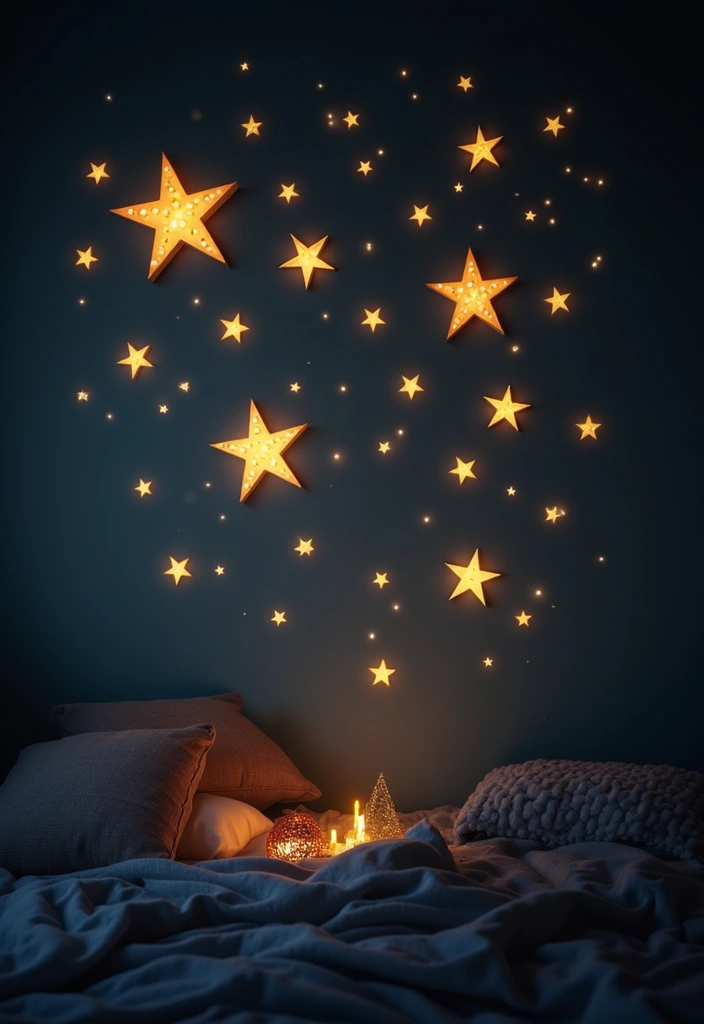
Transform your room into a cosmic wonderland with cardboard star constellations! This fun craft lets you create a dazzling night sky using simple materials. Cut out stars from cardboard in varying sizes, and paint them in shades of yellow and gold. Arrange these twinkling creations on a deep blue or black backdrop for a striking contrast. Pinterest is buzzing with ideas like this, making it a trendy décor choice that sparks imagination.
To make your starry display, gather some cardboard, scissors, and paint. This project is budget-friendly since you can use materials you likely have at home. You can also incorporate educational aspects by labeling the constellations, helping your child learn about astronomy. Adding glow-in-the-dark paint brings a magical touch; when the lights dim, your stars will shine bright, making bedtime feel enchanting.
• Cut out star shapes in different sizes for variety.
• Paint in bright colors like gold and yellow for a warm glow.
• Use a dark backdrop to make your stars pop visually.
• Label the constellations to make it a fun learning experience.
This project not only beautifies a space but also fosters creativity and curiosity. Imagine the joy of teaching your child about the universe while enjoying a lovely wall art piece together!
20. Cardboard Garden Wall
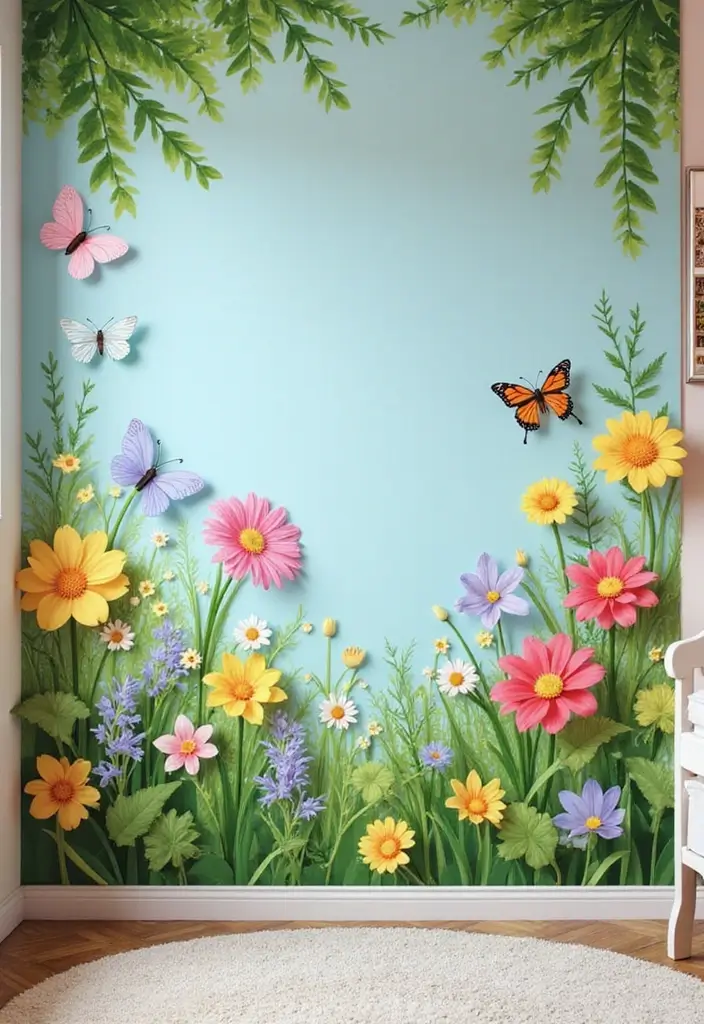
Create your own indoor escape with a stunning cardboard garden wall! This engaging craft transforms any room into a lively oasis. Start by cutting out flowers, butterflies, and leafy plants from sturdy cardboard. Use bright, cheerful paints to bring your creations to life. Think yellows, pinks, and greens that pop against your wall. This trend has taken off on Pinterest, where DIY enthusiasts showcase their unique interpretations of indoor gardens. Not only does it look fantastic, but it also brightens up your space, making it feel more inviting.
Now, let’s talk about how you can make this project a reality. Gather your materials from around the house—old cardboard boxes work great! Grab some paint and brushes, and don’t forget your scissors. Have fun arranging your cutouts to create a scene that tells a story. You can even incorporate real plant pots among your cardboard art for a wonderful mix of textures and colors. This project is budget-friendly and perfect for a family activity, helping kids connect with nature while they create.
• Cut out various shapes like flowers and butterflies from cardboard.
• Use bright paints to make your garden come alive.
• Arrange real plant pots to add depth and contrast.
• Involve kids in choosing their favorite designs to personalize the garden.
This cardboard garden wall not only adds a splash of color but also teaches kids about nature and creativity. It’s the perfect way to brighten a room while cultivating a love for gardening. Enjoy the process and embrace your inner artist!
21. Cardboard Animal Parade
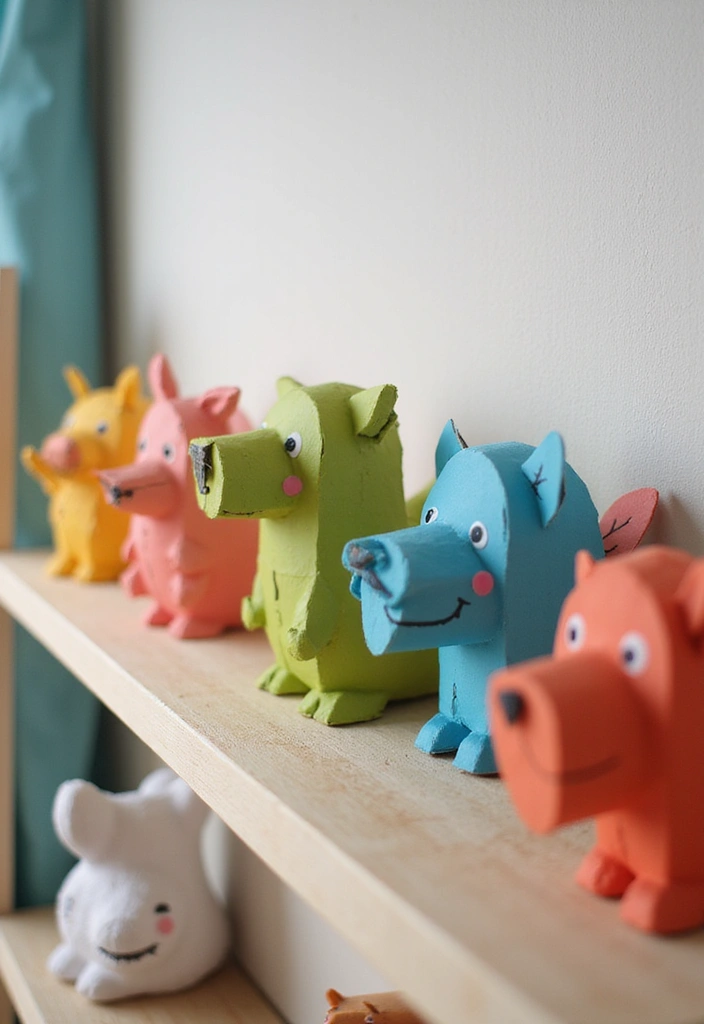
Bring the charm of a Cardboard Animal Parade to your child’s room! This fun project allows you to create a delightful display of animals using simple cardboard. You can paint and decorate each animal to reflect your child’s favorites. Imagine a colorful lineup of elephants, lions, and butterflies marching along the shelf or hanging from the wall. This trendy decor style will brighten the room and inspire imaginative play, just like what you see on Pinterest!
To make your cardboard parade, gather some cardboard boxes, scissors, and paints. Cut out animal shapes and let your kids personalize them with vibrant colors and fun patterns. If you’re on a budget, use old cereal boxes or shipping materials. Rotate the animal lineup every few weeks to keep the decor fresh and engaging. This project not only beautifies the space but also encourages conversations about wildlife, making it a perfect educational tool for young learners.
• Choose favorite animals to create unique shapes
• Paint in bright colors for a lively look
• Hang from the ceiling or line them on shelves
• Change the display regularly for variety
With this cardboard animal parade, you’ll add a playful touch to your child’s room while encouraging creativity and learning. It’s a simple, enjoyable project that makes any space feel warm and inviting!
22. Cardboard Sunburst Decor
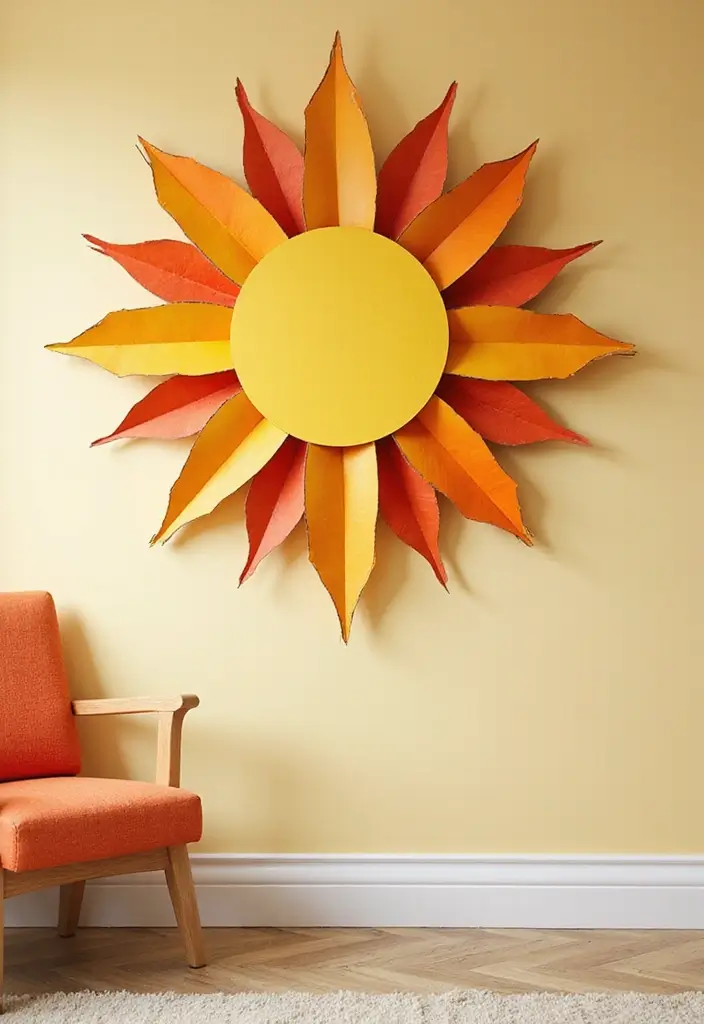
Brighten your child’s room with a stunning cardboard sunburst decor! This cheerful art piece can transform any space into a sunlit haven. Start by cutting cardboard into sun rays. Layer these rays in a circular pattern and paint them in warm colors like sunny yellows, fiery oranges, and shimmering golds. This design is trending on platforms like Pinterest, where many parents share their creative twists on sunburst art. A bright sunburst not only adds color but also infuses the room with joyful energy.
To make this craft truly special, get your kids involved! Let them paint and arrange the rays, adding their personal flair. This activity is budget-friendly and allows for a fun family project. You might even consider placing a mirror at the center of the sunburst. It will reflect light, making the room feel even brighter. This simple addition enhances the cheerful atmosphere, making it perfect for playtime or relaxation.
Here’s how to create your own cardboard sunburst decor:
Gather supplies: Use cardboard, scissors, and paint in bright colors.
Get creative: Let kids choose their favorite colors for the rays.
Hang it up: Position it in a spot where it catches the light.
Incorporate a mirror: Add a small mirror in the center for extra brightness.
This cardboard sunburst decor is a delightful way to recycle materials while beautifying your home. It’s perfect for sparking creativity and creating a warm, inviting atmosphere in your child’s space.
23. Cardboard Planets Mobile
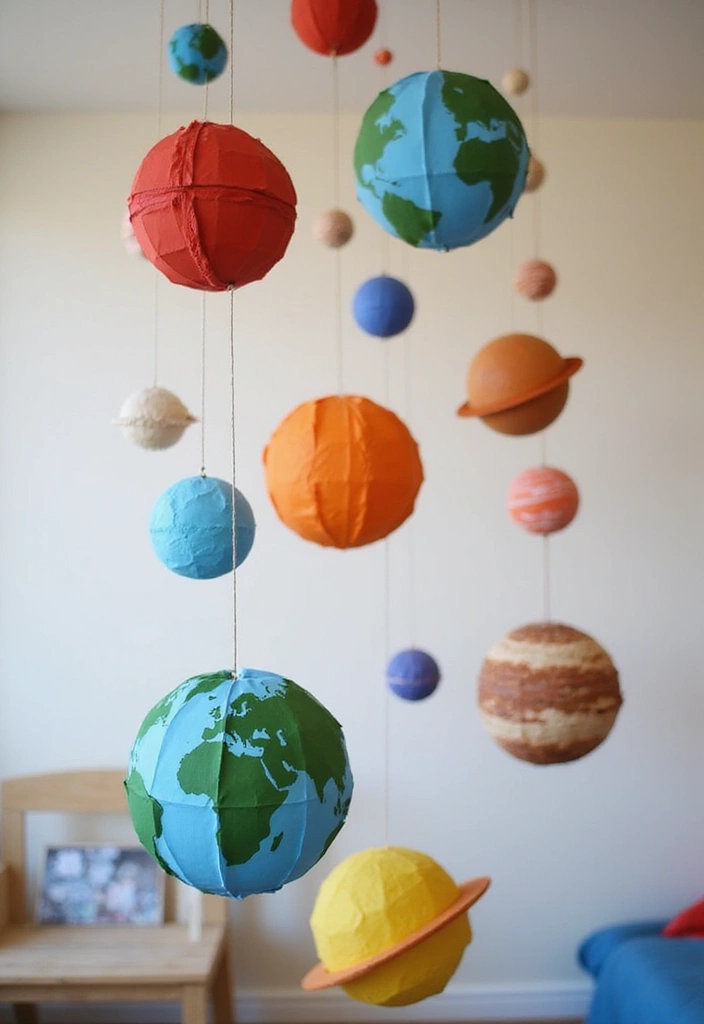
Create a mesmerizing cardboard planets mobile and spark your child’s curiosity about the universe! This fun project not only beautifies your space but also serves as an engaging educational tool. Start by cutting out circular shapes from cardboard to represent planets. Then, paint each one in bright, true-to-life colors. For example, use red for Mars, blue for Earth, and yellow for the sun. Hang these colorful planets from a circular frame, giving them a stunning display that can dangle from the ceiling. Projects like this are trending on Pinterest, making them a stylish yet practical addition to any child’s room!
To make this project budget-friendly, use recycled cardboard from old boxes. You can find affordable paint at local craft stores or even use leftover paints you have at home. Hang the planets at varying lengths using twine or string to mimic their orbits. This adds depth and movement to your decor. Plus, it’s a fantastic way to brighten a room while providing a learning experience. Your kids will love showing off their handiwork and sharing fun facts about the solar system with family and friends.
• Cut out circular shapes for each planet from cardboard.
• Paint planets in bright colors that match their real-life counterparts.
• Use twine to hang planets at different heights for a dynamic look.
• Involve kids in the project to make learning about space exciting!
24. Cardboard Wall Art Quotes
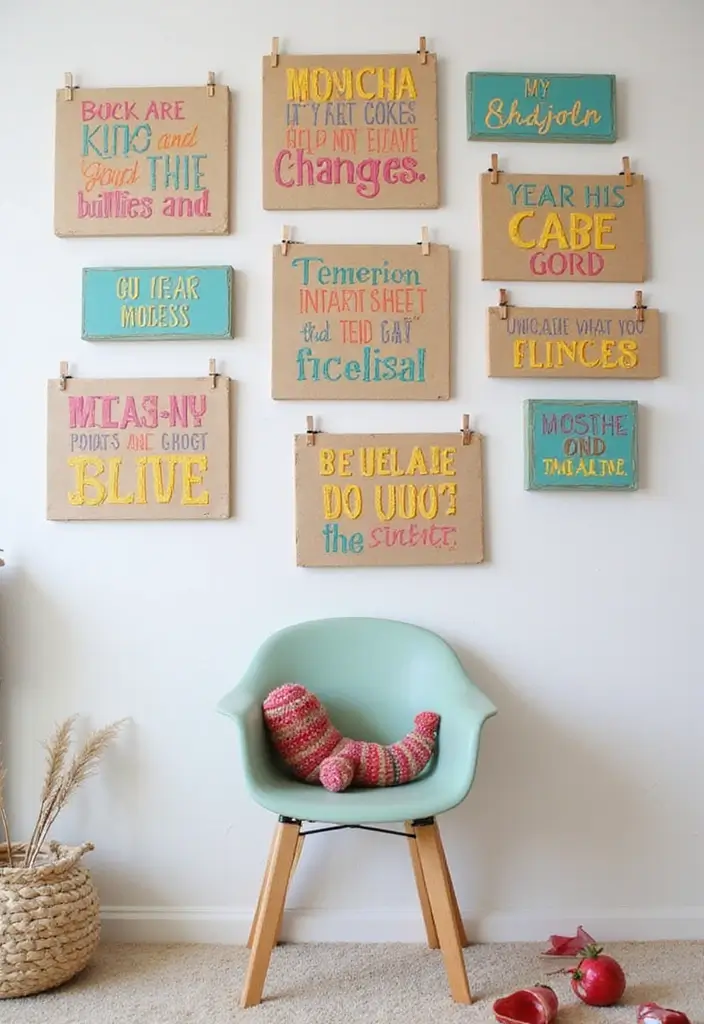
Bring inspiration into your child’s space with cardboard wall art that showcases their favorite quotes! This fun project not only beautifies their room but also injects daily motivation into their lives. You can easily cut letters from sturdy cardboard, then paint them in colors that pop or blend with the room’s decor. Hang these uplifting phrases above their bed or in the play area, creating a space filled with positivity and encouragement.
Let your child take the lead by picking quotes that resonate with them. This not only promotes good values but also makes them feel connected to their personal space. You can find trendy quotes on platforms like Pinterest, where parents share their creative ideas. Mixing fonts and styles can make your display even more eclectic and visually appealing.
To get started, gather your materials. You’ll need cardboard, scissors, paint, and some string or adhesive to hang the letters. This project is budget-friendly, making it easy to transform your home without overspending. Play around with different color combinations and textures to find what works best for your child’s room.
This craft is perfect for making the environment more loving and inspiring. A simple quote can uplift spirits and spark conversations.
• Cut out letters from cardboard for a personalized touch
• Choose bright colors or pastel shades to match the decor
• Hang quotes in play areas to inspire creativity
• Allow your child to select meaningful phrases for added connection
25. Cardboard Mosaic Art

Create a stunning cardboard mosaic art piece that brings color and creativity to your home! This craft allows you to transform simple cardboard into a captivating display. Start by cutting different cardboard shapes into small pieces. Use various colors and textures to make your design pop. Hang your finished masterpiece on a wall to showcase your artistic flair. This trend is perfect for personalizing your space and is loved by DIY enthusiasts on platforms like Pinterest.
For a budget-friendly project, use old cardboard boxes or packaging you already have at home. You can even paint the pieces for added flair. This mosaic art not only looks great but also serves as a fun way to introduce kids to art and design concepts. Encourage them to explore patterns and color combinations, making it a great family activity. The end result is a vibrant piece that makes any room feel alive and inviting.
• Cut cardboard into various shapes for diversity.
• Use bright colors and textures for visual interest.
• Frame your mosaic for a polished look.
• Encourage kids to experiment with their designs.
This cardboard mosaic art project is not just about crafting; it’s about expressing yourself. It can spark conversations and bring warmth to any room. So gather your materials and unleash your creativity today!
Conclusion
Creating cardboard crafts not only declutters your space but also sparks creativity and imagination in your child.
By transforming everyday materials into beautiful decor, you can foster a love for art and sustainability in your little ones.
Explore these 25 ideas to find inspiration for your next project and enjoy the bonding time spent crafting together!
Frequently Asked Questions
What types of cardboard can I use for DIY cardboard decor?
You can use various types of cardboard for your DIY cardboard decor projects! Recycled boxes, shipping cartons, and old cereal boxes are great options. Just make sure to clean them and flatten them out before starting your creative process.
Using different thicknesses and textures can add depth to your eco-friendly home decor, making it more visually interesting!
How can I ensure my cardboard crafts are safe for children’s rooms?
Safety is key when creating cardboard crafts decoration wall art for children’s rooms! Use non-toxic adhesives and paints to ensure your projects are safe for little ones.
Avoid sharp edges by using scissors or craft knives carefully, and consider reinforcing any structures with additional cardboard to prevent them from collapsing or breaking easily.
What are some creative cardboard projects for children’s rooms?
There are endless possibilities when it comes to creative cardboard projects for children’s rooms! You could try making fun upcycled wall decorations like a cardboard animal head, colorful wall hangings, or even a cardboard playhouse.
These projects not only add personality to the space but also encourage imaginative play and creativity in your kids!
How can I incorporate recycled wall art into my home decor?
Incorporating recycled wall art into your home decor can be both stylish and eco-friendly! Start by creating a gallery wall with different cardboard crafts in various shapes and colors.
You can also mix in other materials like fabric or wood to create a unique and textured look that showcases your commitment to eco-friendly home decor while adding a personal touch to your space.
Are there any tips for making durable cardboard wall decorations?
Absolutely! To make your cardboard crafts decoration wall art more durable, consider sealing them with a clear coat of non-toxic spray or paint. This will help protect your creations from moisture and wear.
Additionally, reinforcing your designs with extra layers of cardboard or using sturdy adhesive can make them last longer, ensuring your DIY cardboard decor remains beautiful in your home for years to come!